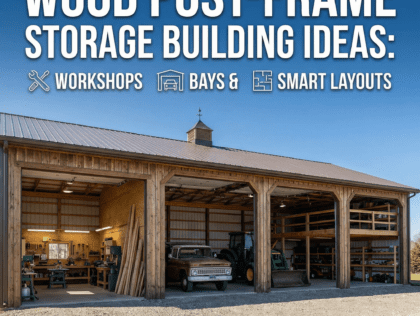
Design a Post‑Frame Workshop: Power, Doors & Finish
A post-frame workshop can be a simple shell, or it can be a shop that feels easy to use every single day. The difference is planning. The best shops are designed around three things that affect daily work the most: power, doors, and interior finish. When those three parts match your tools, your equipment, and your climate, your workshop becomes safer, cleaner, and ready for long‑term use. [astardfw.com], [ask-the-el…rician.com]
This guide gives you a longer, SEO‑friendly roadmap you can use before you price a building or pour a slab. It keeps the wording simple, but it covers the key details that prevent common regrets later.
Why Post‑Frame Works So Well for Workshops
A post‑frame shop is popular because it can give you a wide, open interior that is easy to customize, and it can be built with many different door and wall options depending on how you plan to use the space. That flexibility matters when you want a shop that may start as storage, then grow into a full workshop with work benches, lifts, or finished rooms later. [lesterbuildings.com], [info.fbibu…ldings.com]
Step 1: Plan the Workshop Around “Real Use”
Before you choose door sizes or outlet locations, write down how you will use the building on a normal day.
Here are simple planning questions that help a lot:
- What is the largest thing that must fit through a door?
- Will you pull in trailers, or will you back them in?
- Which tools may run at the same time?
- Will you heat or cool the shop later?
- Do you want clean finished walls, or tough walls you can hang tools on?
Doing this first makes every next choice easier, especially power and doors. [sutherlands.com], [astardfw.com]
Step 2: Power Planning for a Post‑Frame Workshop (Outlets, Circuits, and Growth)
Start with a simple “tool list”
Workshop wiring guides often recommend listing your tools first, because shops usually need more power than a standard garage setup.
Write down tools that need 120V and tools that need 240V, and note which ones may run at the same time. [astardfw.com], [hansenpole…ldings.com] [astardfw.com], [workshopcalc.com]
Consider a workshop subpanel
Many workshop electrical resources describe a subpanel as a useful upgrade because it adds capacity, keeps breakers close to the workspace, and makes future expansion easier.
A subpanel is also helpful when you want multiple circuits, including 240V circuits, without overloading the main service. [astardfw.com], [wiringdoneright.com] [astardfw.com], [workshopcalc.com]
Use dedicated circuits for heavy tools
Electrical planning sources commonly emphasize that heavy tools should have dedicated circuits to reduce overload risk.
Examples often listed include welders, air compressors, dust collectors, and heaters. [astardfw.com], [ask-the-el…rician.com] [astardfw.com], [hansenpole…ldings.com]
Place outlets where you work, not where it is “easy”
Good wiring layouts focus on workflow, not just code minimums. Workshop layout guidance often highlights outlet placement near benches, tools, and areas that won’t be blocked by storage or equipment.
This reduces extension cords, which improves safety and day‑to‑day convenience. [ask-the-el…rician.com], [electrasch…matics.com]
Don’t skip safety protection in shop spaces
Some workshop wiring guidance specifically calls out GFCI protection in workshop areas for shock protection, especially where concrete floors and moisture are possible. [astardfw.com], [ask-the-el…rician.com]
Simple power planning takeaway: Build the wiring plan around your tool list, add capacity for growth, and place outlets based on workflow. [astardfw.com], [workshopcalc.com], [ask-the-el…rician.com]
Step 3: Doors That Fit Equipment (And Stay Easy to Use)
Door mistakes are expensive because they are hard to fix after the building is framed. Door planning resources often recommend measuring your tallest and widest equipment first, then adding clearance for comfort and future upgrades. [mortonbuildings.com], [sutherlands.com]
Door height vs. eave height
A common planning guideline in vehicle‑clearance resources is that the eave height should be taller than the door opening, and one example states a 12‑ft door usually requires a 14‑ft eave height.
This helps ensure the door and framing fit properly and gives room for hardware and structure. [bradfordbu…ldings.com]
Headroom above the door matters
Overhead door guidance often explains that you need clearance above the opening for tracks, springs, and operators. One source states that traditional overhead doors usually need 300–600 mm of headroom above the opening.
If you plan lights, ducts, or storage near the door, this clearance becomes even more important. [legacybarnco.com]
Door placement should match traffic flow
Entry‑point planning guidance for oversized equipment stresses that door placement should align with driveways and turning paths so entry is easy and safe.
Even a large door can feel frustrating if the approach is tight or the turn radius is wrong. [mortonbuildings.com], [sutherlands.com]
Simple door planning takeaway: Measure the biggest equipment, plan enough wall height, account for headroom, and place doors where traffic flow makes sense. [bradfordbu…ldings.com], [legacybarnco.com], [mortonbuildings.com]
Step 4: Slab and Moisture Control (A Big Deal in Metal Buildings)
Moisture control is one of the most important “invisible” parts of a workshop build, especially in post‑frame buildings with metal roofing and siding. Vapor barrier guidance notes that warm, moist air can condense on cooler surfaces, and moisture can also migrate up through concrete if it is not blocked. [americover.com], [buildingcodegeek.com]
Use a vapor retarder under the concrete slab
A post‑frame vapor barrier guide states that the most commonly used vapor barrier under slabs is polyethylene plastic in 10 mil or 15 mil thickness.
A separate building code resource notes that the 2021 IRC raised the minimum vapor retarder thickness beneath slabs from 6 mil to 10 mil, and it emphasizes sealing seams and penetrations to maintain continuity. [americover.com] [buildingcodegeek.com]
Simple slab takeaway: Put a proper vapor retarder under the slab and treat sealing as part of the job, not an optional extra. [buildingcodegeek.com], [americover.com]
Step 5: Insulation and Vapor Control for Walls (Comfort + Condensation)
If your workshop will be insulated or conditioned, vapor barrier guidance for post‑frame buildings often recommends installing a vapor barrier on the inside (warm side) of the insulation in colder climates to protect the wall assembly.
That same resource describes using 6 mil to 10 mil reinforced poly barriers on walls, depending on usage and code needs. [americover.com]
Simple wall takeaway: If you insulate, plan vapor control correctly so insulation and finishes stay protected. [americover.com]
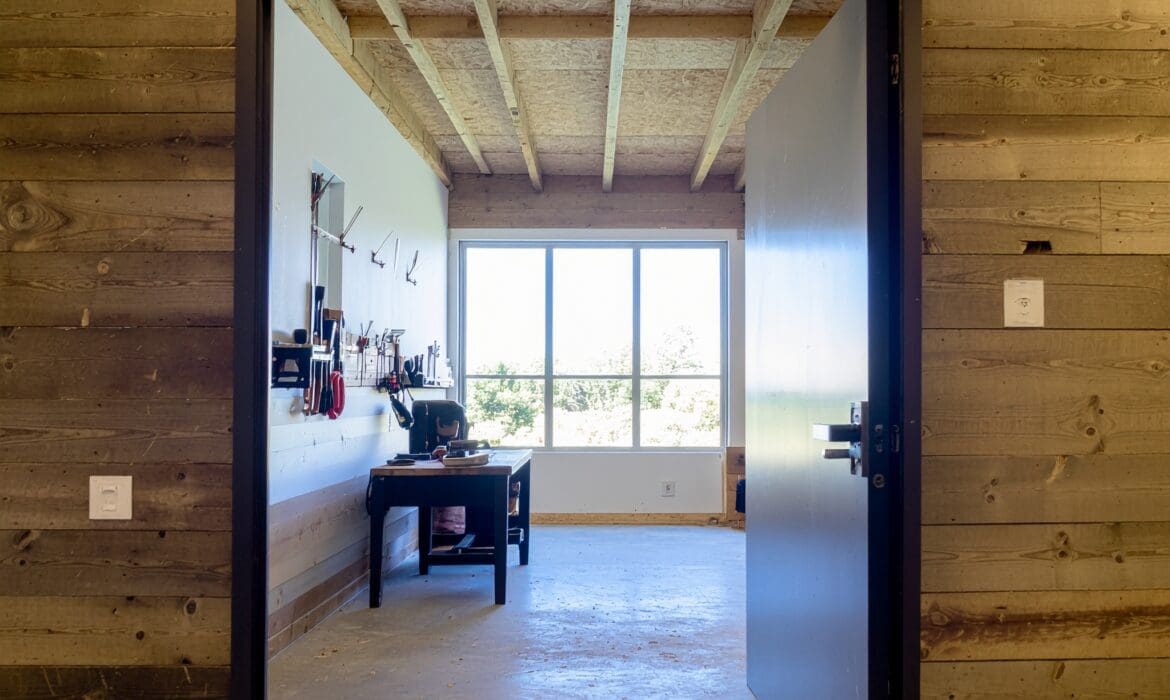
Step 6: Interior Finish Options (Make the Shop Brighter and Tougher)
A workshop finish is not just for looks. Interior finishing resources explain that finishes help protect insulation and wiring, improve lighting by reflecting light, and make the space easier to clean and maintain. [trusscore.com], [diypolebarns.com]
Here are common interior finish options found in post‑frame interior guides:
OSB and plywood (tough, tool‑friendly walls)
Pole barn interior resources list plywood and OSB as popular choices because they are durable and useful for workshops where you hang tools, shelving, and hooks. [info.fbibu…ldings.com], [diypolebarns.com]
Drywall (best for a “finished room” look)
Interior finish guidance describes drywall as a common option for offices, showrooms, and more finished spaces inside post‑frame buildings, while noting that moisture conditions require planning. [lesterbuildings.com], [homeinteriorz.com]
Metal liner panels (bright, clean, low maintenance)
Interior liner panel resources describe painted metal panels as a common workshop and garage solution because they create a clean finish and are easy to maintain. [diypolebarns.com], [peakpolebarns.com]
Simple finish takeaway: Choose finishes based on how hard you will use the space, how clean you want it, and whether you need a polished “finished” look or a rugged tool wall. [info.fbibu…ldings.com], [lesterbuildings.com], [diypolebarns.com]
Layout Ideas That Improve Daily Workflow (Easy Wins)
These are practical layout ideas (general best‑practice suggestions):
- Keep a clear drive lane from the main door to parking space.
- Put the workbench zone near outlets and strong lighting.
- Place noisy or dusty tools (like grinders or saws) away from clean storage.
- Leave space for future upgrades like a compressor corner or tool cabinets.
This type of planning supports better workflow and helps the shop stay organized.